Chelsea standing in front of a row of brassicas under a row cover.

How to Protect Brassicas from Cabbage Moths

Table of Contents

If there is one thing that has changed my brassica game more than anything else, it is getting the bug netting on before I even see the first cabbage moth of the season. Not after. Before.

I learned this the hard way. I have had entire crops of broccoli, cauliflower, and cabbage decimated by cabbage moth larvae hatching on the underside of the leaves. One season of that is enough to change your habits permanently.

This past week I did a walk-through of the whole garden and the new deck Dan built last October, and I wanted to share what is working, what surprised me, and how I got my GreenStalk planters set up for summer. Come along with me in the video below.

Why I Cover My Brassicas Before the Moths Arrive

Cabbage moths lay their eggs on the underside of brassica leaves. Those eggs hatch into cabbage worms, and they can devastate a crop before you realise what is happening.

My approach:

  • Cover broccoli, cauliflower, cabbage, and kale with bug netting the same day they go in the ground
    Keep the netting on until harvest
  • Use weed barrier underneath the brassicas to cut down on weeding time significantly

Tip: Lay your weed barrier down before transplanting. It takes a bit of extra setup at the start, but you will spend almost no time weeding your brassica beds for the rest of the season.

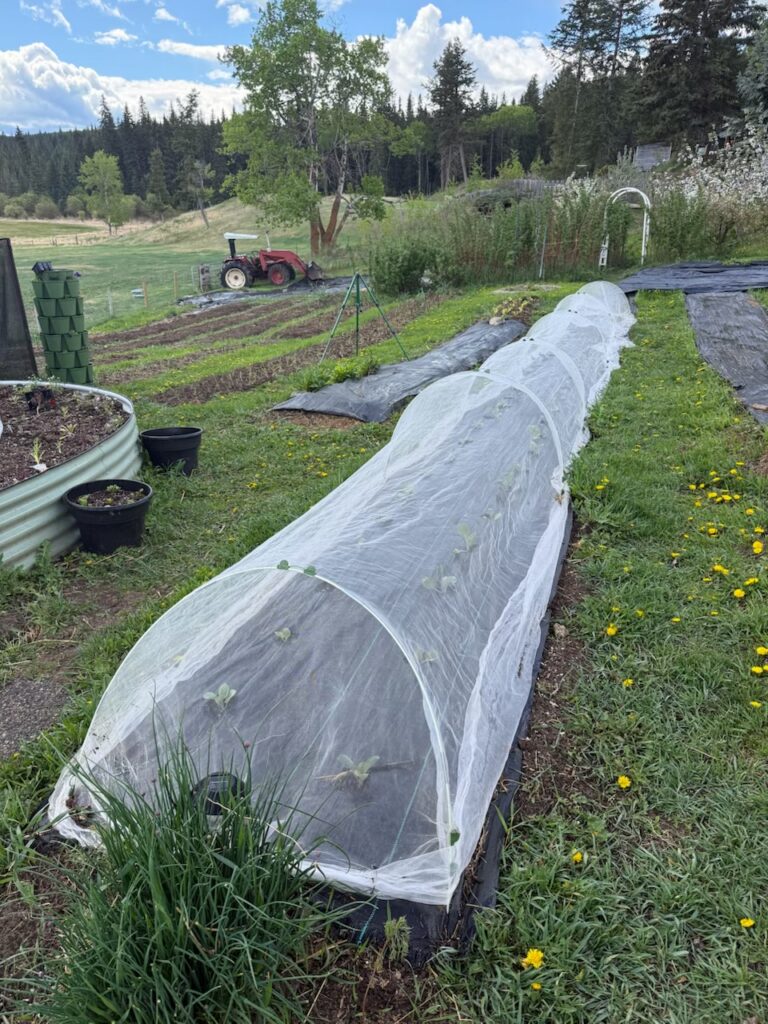
A row of brassica covered with a white row cover.

High Tunnel vs. Outdoor Garden: The Difference Is Remarkable


I planted these at the exact same time from the same seeds – some outdoors, some in the high tunnel:

Kale: The high tunnel kale is enormous. The outdoor kale looks as though it was planted weeks later.

Pak choi and celery: The high tunnel versions are significantly further ahead.

Carrots: Planted in the high tunnel two full weeks after the outdoor ones – already well established.

The high tunnel is not heated. It is simply protection from temperature swings, wind, and UV intensity.

Tip: Set a daily morning alarm from late May through August to remind yourself to open the high tunnel doors on warm days. It only takes one forgotten morning to cause real damage.
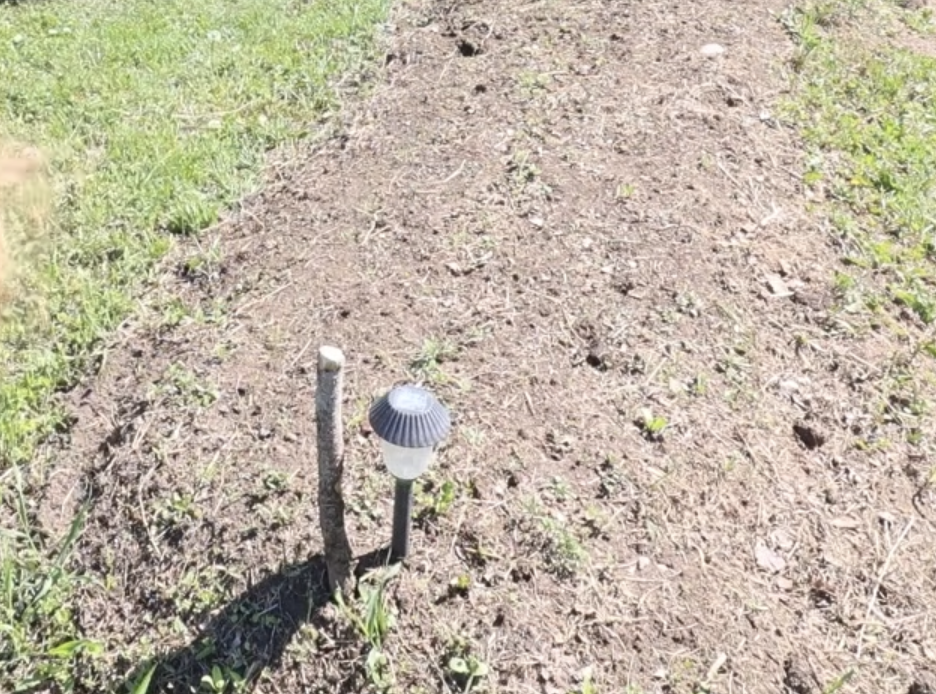
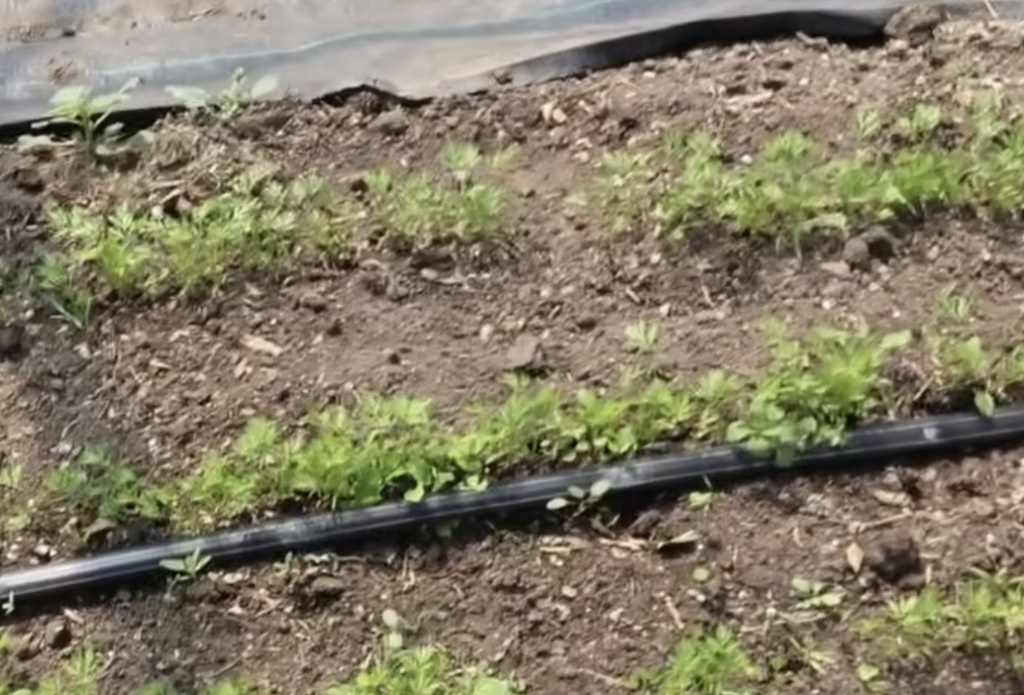
A carrot bed with tiny carrot seedlings popping up.
The carrot bed outside of the high tunnel.
Carrots growing in the high tunnel.
Carrot bed inside the high tunnel.

What Else Is Growing Right Now

Garlic: About 600 bulbs. Top-dressed with an inch of well-composted horse and cow manure after seeing yellowing – perked right back up within days.
 
Potatoes: Three rows, earliest emergence I have ever seen.
 
Carrots: Took 24 days to germinate this year. Be patient.
 
Squash and cucumbers: Going in the ground this week, currently hardening off under shade cloth.
 
Chive flowers: Steep blooms in white vinegar for four weeks for a beautifully flavoured chive vinegar.
 
Tip: If your garlic is looking yellow in late May or early June, it likely just needs a feed. A light top-dressing of compost usually brings it back within a few days.

Printable Checklist: Late May Zone 3b Garden Tasks

  • Cover all brassicas with bug netting at planting
  • Lay weed barrier under brassicas before transplanting
  • Check garlic colour – yellowing means it needs feeding
  • Top-dress garlic with an inch of compost or aged manure if needed
  • Begin hardening off squash, cucumbers, and tender annuals under shade cloth
  • Stake indeterminate tomatoes and begin removing suckers
  • Remove lower tomato branches for airflow and disease prevention
  • Keep high tunnel doors open and shade cloth on during warm days
  • Turn planters every day or two for even light exposure
  • Water pots thoroughly until water runs freely from the bottom
 
If you want to follow along with the whole growing, harvesting, and preserving season at Little Mountain Ranch, come and join us in the Little Mountain Ranch Community.

Leave a Comment