

Table of Contents
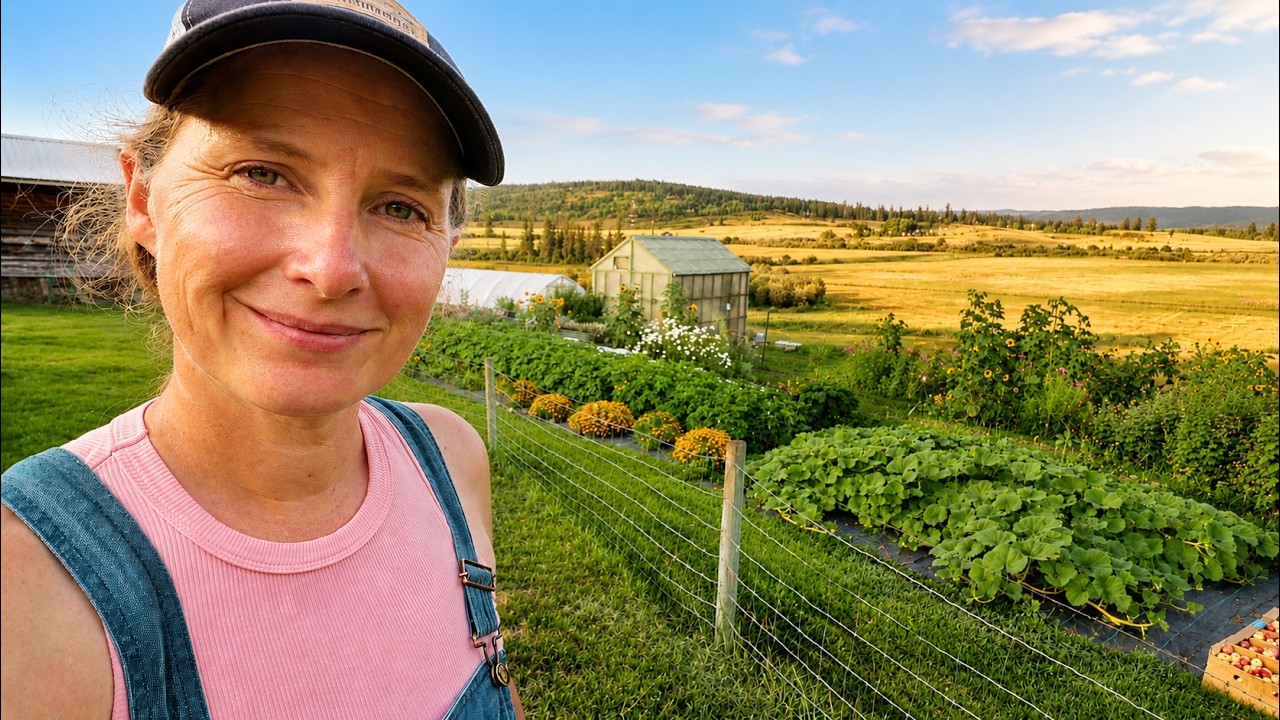
This was supposed to be a smaller year. We knew we were moving, so I scaled the garden back. Fewer beds, less pressure, more of a wind-down than a full push. And then the garden, apparently, did not get the memo.
We brought in over 500 pounds of produce in a single day. Forty-four potatoes off one plant. Cucumbers by the hundreds. Apples stacked in boxes. Onions laid out in the greenhouse to cure. Nine years of growing in the same Zone 3b soil in the central interior of British Columbia, and this land decided to send us off in style.
I filmed the whole thing and cried through most of it. But I also paid attention, because that is what you do after nine years. You notice what worked and you figure out why. These are the lessons I am taking with me to the new property, and they are the ones I wish someone had told me at the beginning.
You can follow along with me in the video below.
Start Your Onions From Seed and Skip the Fussy Extras
There is a lot of advice out there about onions. Spoon the soil away from the bulb. Trim the tops to encourage more growth. In my experience, most of it is not worth your time.
The number of leaves on your onion is the number of rings you will have inside it. More leaves means a bigger bulb. That is the thing worth protecting. And the way you protect it is simple:
- Start your onions from seed, not sets
- Get them into the ground as early as possible in spring
- Keep the weed pressure down consistently throughout the season
- Water evenly and keep soil moisture consistent
TIP: As long as your soil is loose and you are maintaining consistent moisture, spooning the soil away from the bulb is unnecessary. Save that effort for weeding instead.
I have done side-by-side comparisons on trimming tops. The results were the same either way. Let the plant do what it does and focus on the fundamentals.
Thin Your Apples and Learn to Prune With Intention
I lost an entire apple tree once because I did not know to thin the fruit. The weight split it right down the middle. I will not make that mistake again.
Thinning apples to roughly 6 inches apart does two things. It keeps the branches from breaking under heavy loads, and it helps the tree maintain energy to produce well the following year. Apple trees are not true biennials, but a very heavy crop with no thinning can result in a significantly lighter harvest the next season.
On pruning: the style matters less than the consistency.
- Vase pruning keeps the centre open for light and airflow, with branches spreading outward
- Central leader pruning encourages one main upright stem with fruiting branches coming off it
- Weigh down young branches to train them into a more horizontal position for easier harvesting
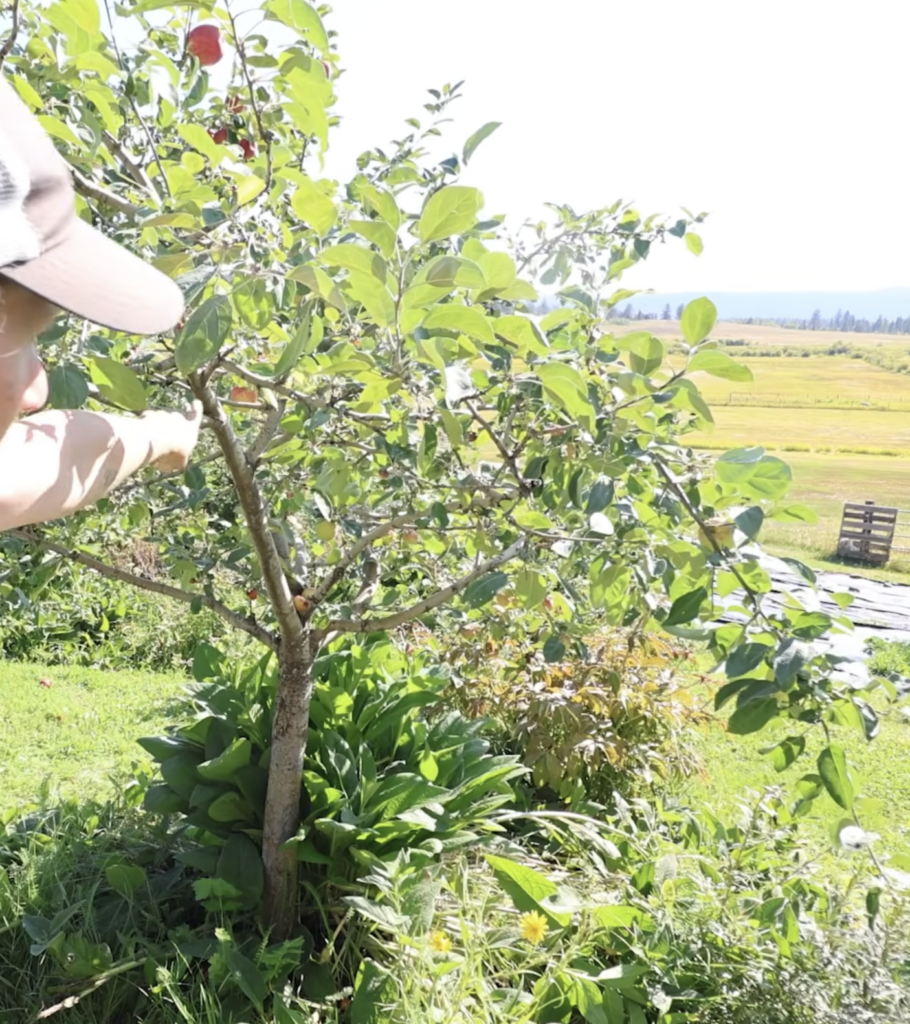
Tip: Comfrey planted around the base of your fruit trees acts as a living mulch that outcompetes grass without stealing water from shallow fruit tree roots. It also cushions windfall apples so they land without bruising. I discovered a full box of perfect apples hiding under the leaves.
Buckwheat is Worth Trying as a Cover Crop
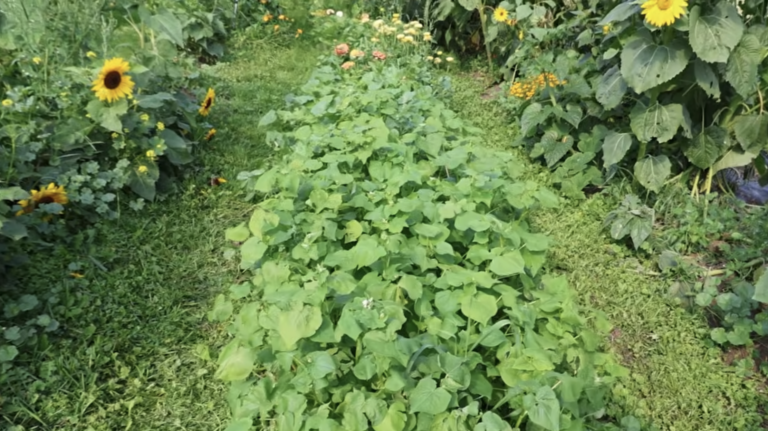
This year I planted buckwheat in an area where I had nothing else growing, mostly because I had a seed packet and a bare patch. I was impressed.
Buckwheat grows quickly, smothers weeds, and when you smash it down or chop it in before it sets seed, it breaks down into the soil as a green manure. It feeds what is underneath while covering bare ground that would otherwise crust over or grow weeds.
I am planning to use it heavily on the new property. We are turning a riding arena into a growing space, and buckwheat is going to be one of the first things I reach for to start building that soil before anything goes in the ground.
Tip: Do not let buckwheat go to seed before you turn it in, or you will be managing volunteer buckwheat for years. Watch for the flowers and act before they mature.
High Tunnels Open Up Possibilities You Cannot Get Outside
I have grown tomatoes in my high tunnel for years, but this season I experimented with zinnia, sweet peas, dahlias, cucumbers, green beans, and kale all in the same space. Most of it was research for the cut flower farm I am planning at the new property.
The zinnia grew to shoulder height. The sweet peas reached almost to the ceiling. The cucumbers gave me well over 100 fruits off six plants. The kale was sweet rather than bitter.
A few things worth noting:
- Zinnia thrive in a high tunnel and produce much larger blooms than they do outside in short seasons
- Sweet peas need tall trellising. Plan for it before they outgrow what you have set up
- Withhold water from tomatoes in the final days before harvest to concentrate flavour and reduce splitting
- Green beans in a high tunnel are absolutely worth doing again

Every Property is its Own Microclimate
Nine years on one piece of land teaches you things no book can. You learn which corner gets hit by frost first, which beds hold moisture and which drain fast, what your specific soil needs, and how to read the season in a way that is unique to your place.
I am starting over at a new lake property in a similar zone. Similar, but not the same. More snow, possibly earlier frost, a completely different layout. And I am genuinely excited about it.
The four-season Arctic Acres growing dome going in this fall will change everything about how I grow through winter. The high tunnel is coming too. The cut flower farm is on the list. And the riding arena is going to become a vegetable garden.
Everything I know about building soil, managing a short season, and coaxing food out of Zone 3b is coming with me. It just gets to be applied somewhere new.
Printable Checklist:
If you are ever in the position of harvesting a garden you are leaving, here is what I learned about doing it well:
- Pick onions early if needed and cure them in a greenhouse for 2 to 4 weeks before storage
- Harvest potatoes once plants begin to die back; they will keep well in a root cellar
- Thin fruit off apple trees before the season ends to protect branches and next year’s production
- Use your high tunnel to push tomatoes toward ripeness by removing shade cloth in the final weeks
- Pick cucumbers before they go yellow; they will keep producing if you stay on top of harvest
- Freeze dry or process anything that will not survive the transition
- Call neighbours or community members to take what you cannot use. Do not let it go to waste.
If you want to follow along as I build the new garden from scratch, including the four-season greenhouse, the riding arena transformation, and everything else coming in the next chapter, the LMR Community is where I share it all. Weekly calls, behind-the-scenes updates, monthly challenges, and a group of people who genuinely love this stuff.
See you at the new place!