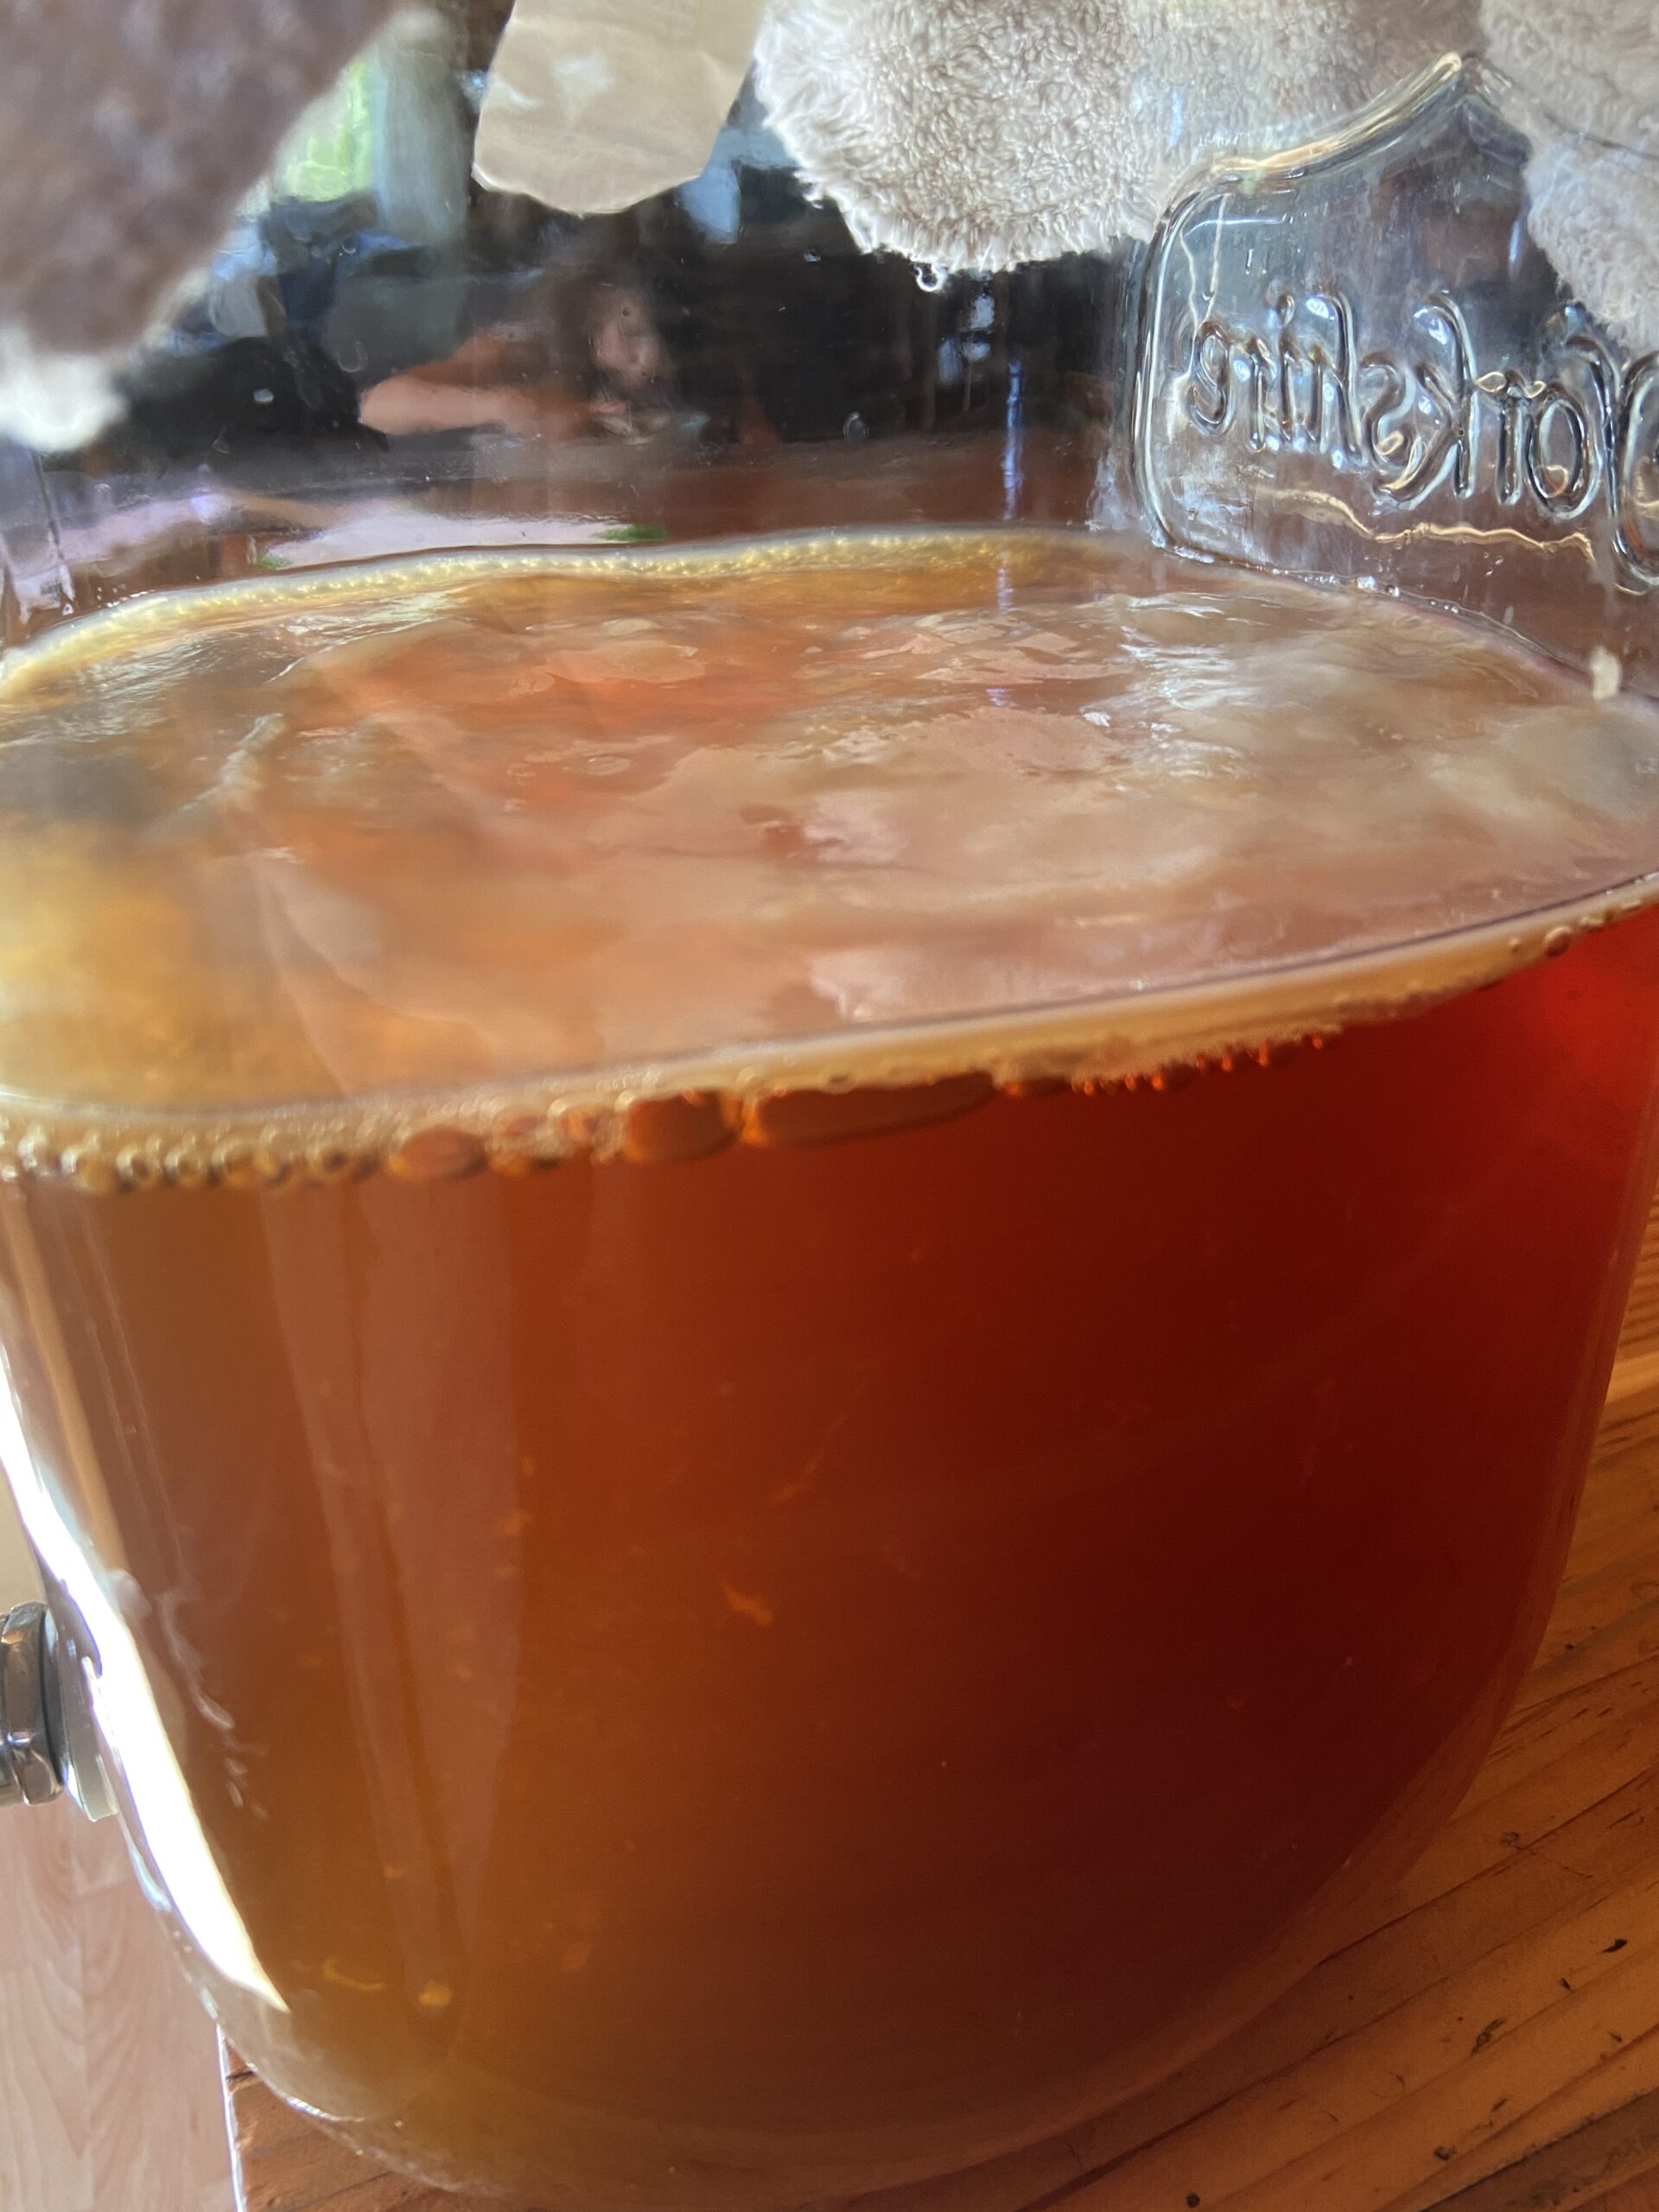
Do you love store-bought kombucha? Well I have news for you, you can make homemade kombucha and save so much money!
I don’t make Kombucha in the winter, but as soon as the sun comes out and starts warming things up in the spring, I get a hankering to start up a batch of delicious, fizzy kombucha. Usually, by spring the SCOBY I had the previous summer has long hit the compost pile and I need to start a new SCOBY. Starting your own kombucha SCOBY couldn’t be easier.
First—What the heck is a SCOBY Anyway?
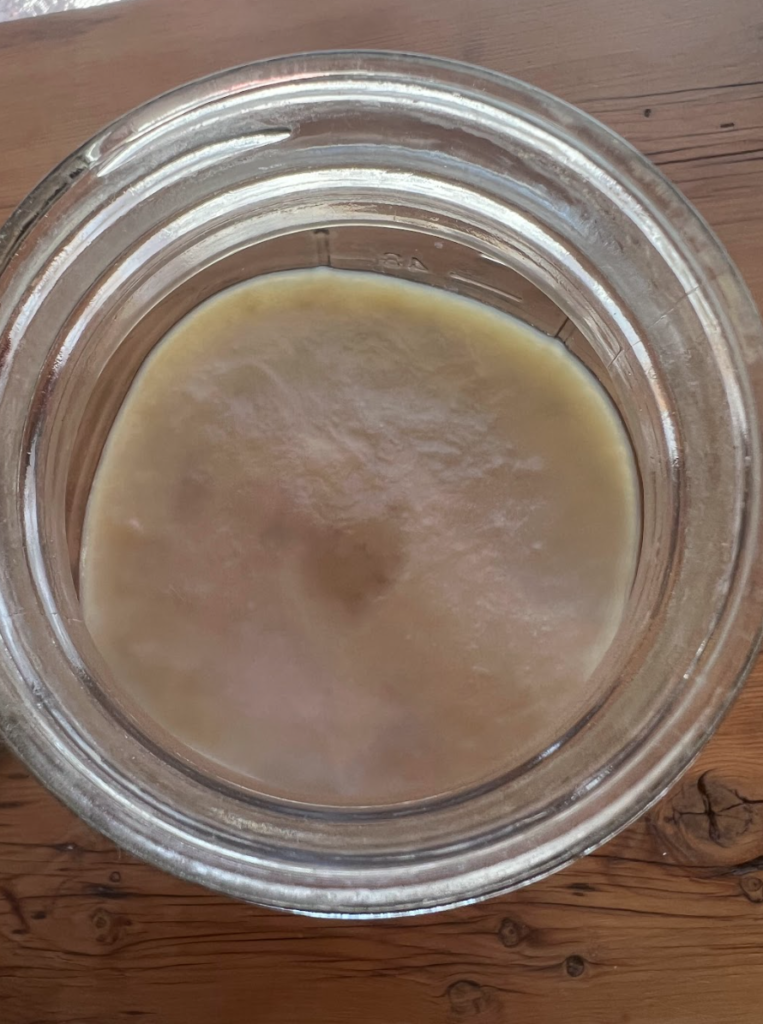
A SCOBY, which stands for Symbiotic Culture Of Bacteria and Yeast, is a vital component in the brewing of kombucha, a fermented tea beverage. The SCOBY is a thick, rubbery, and somewhat translucent disk that floats on the surface of the kombucha during the fermentation process. It’s often described as a “living” entity because it’s a living symbiosis of various bacteria and yeast species. These microorganisms work together to convert the sugar in the sweetened tea into ethanol and acetic acid, which gives kombucha its distinctive slightly tart and fizzy character.
The good bacteria and yeast in the SCOBY feed on the sugar, producing alcohol, carbon dioxide (which adds the bubbles), and organic acids, including acetic acid, which contribute to kombucha’s unique flavor. The SCOBY also acts as a protective barrier for the fermenting kombucha tea, helping to seal it off from the air and potential contaminants while allowing gases produced during fermentation to escape.
Throughout the fermentation process, the SCOBY can grow and thicken, and new layers can form on the surface. These new layers can be peeled off from the mother culture, starter SCOBY, and used to start new batches of kombucha, shared with friends, or composted.
While the appearance of a SCOBY might be off-putting to some at first glance, it’s a natural and crucial part of brewing kombucha.
How to Start Your Own SCOBY
Ingredients
- 2 cups store-bought unflavored kombucha make sure it is raw and contains live cultures
- 2 cups water
- 1/2 cup white sugar
- 4 bags black tea or equivalent loose leaf tea
Instructions
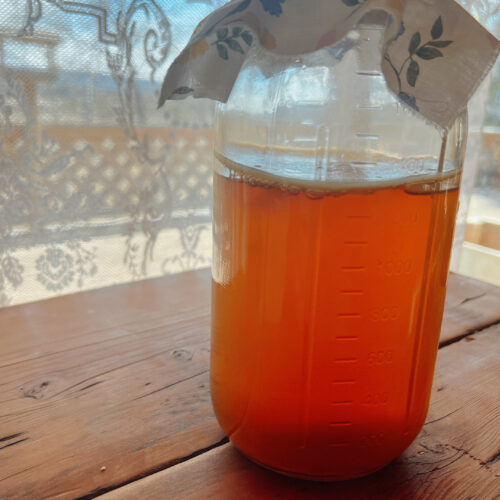
- Make Sweet Tea: Boil the water and dissolve the sugar in it. Add the tea bags and let them steep until the tea cools to room temperature. This can take a few hours. The tea should be strong and sweet, as it will serve as the initial food for your SCOBY.
- Combine with Kombucha: In a large, clean glass jar, combine the cooled sweet tea with the 2 cups of store-bought kombucha. The kombucha acts as a starter liquid, introducing the beneficial bacteria and yeast needed to form the SCOBY.
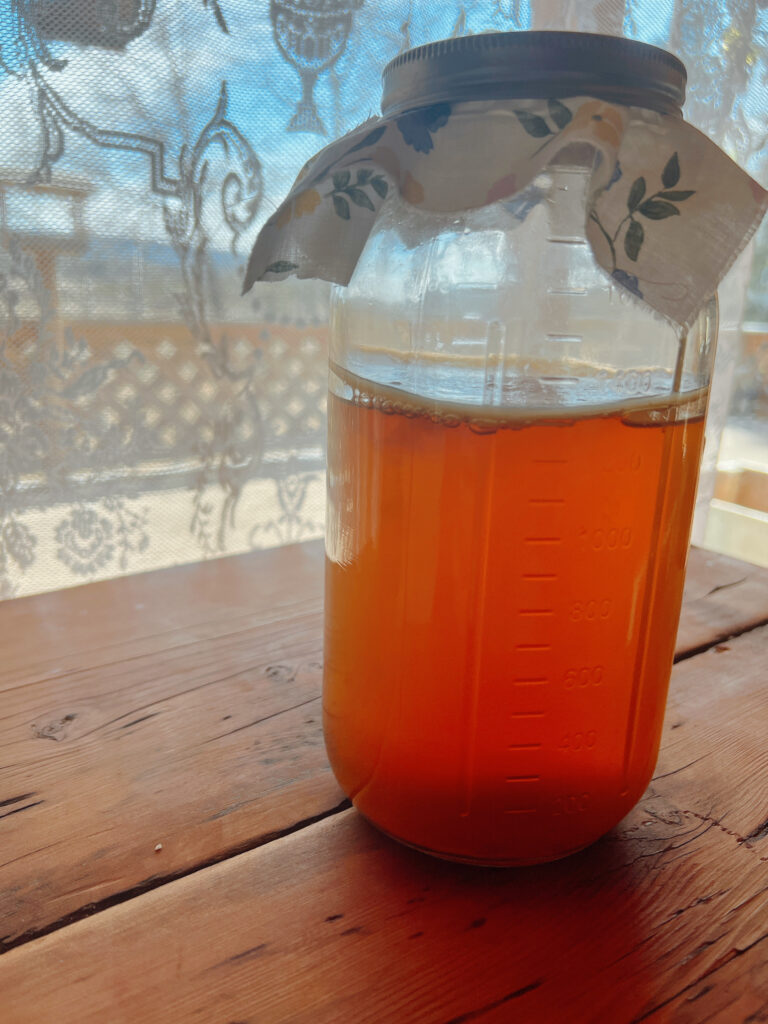
- Cover and Store: Cover the jar with a piece of tightly woven cloth (like a clean kitchen towel or coffee filter) secured with a rubber band. This setup allows the mixture to breathe while keeping out dust and insects.
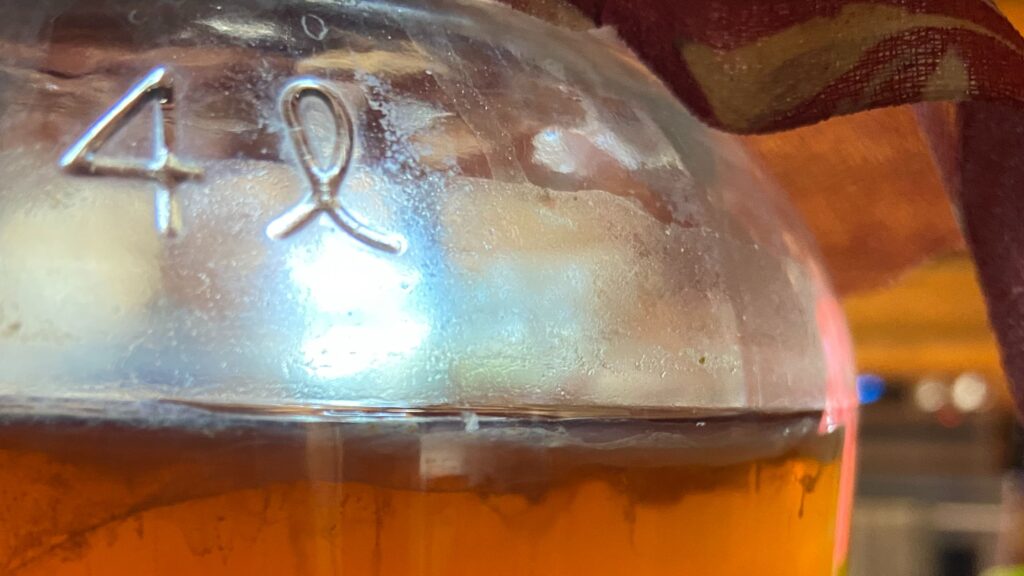
- Wait and Watch: Place the jar in a warm, dark place (around 68-85°F is ideal) and let it sit undisturbed. After about a week, you should start to see a filmy layer forming on the surface. This is the beginning of your SCOBY. It can take up to 2-4 weeks to fully form. Sometimes, especially if it’s warm I can get a SCOBY within a week or two – I usually move up to a half-gallon jar and repeat the steps, this time using the whole quart of starter and another batch of sweet tea. This seems to jump-start things and usually results in drinkable Kombucha within another week or two. The SCOBY is ready for a gallon batch when it’s about 1/4 inch thick.
- First Batch of Kombucha: Once your SCOBY is formed, you can use it to make your first official batch of kombucha. The kombucha liquid from this initial process is often too strong to drink but perfect for starting the fermentation process for your next brew.
Nutrition
TIPS
Patience is Key: The process can take time, especially in cooler temperatures. If it’s taking longer, try to find a slightly warmer spot or give it more time.
Hygiene: Make sure everything is clean to avoid contamination. Wash your hands, use clean utensils, and ensure your jar is sterile.
Avoid Metal: When fermenting kombucha, it’s best to avoid prolonged contact with metal as it can react with the acidic kombucha and affect the flavor or damage the SCOBY.
Making Your First Brew of Kombucha
INGREDIENTS
- 1 SCOBY (Symbiotic Culture Of Bacteria and Yeast)
- 2-3 cups of kombucha starter tea (previously brewed kombucha)
- 1 cup of sugar (white sugar is most commonly used)
- 8 bags of black or green tea (or 2 tablespoons of loose-leaf tea)
- About 14 cups of purified or spring water (to fill a gallon-sized glass jar)
- Optional: fruit, herbs, or flavorings for the second fermentation
INSTRUCTIONS
1. Make the Sweet Tea:
- Boil about 4 cups of the water.
- Dissolve the cup of sugar in the boiling water.
- Add the tea bags or loose-leaf tea and allow it to steep until the water cools to room temperature. Avoid using metal utensils with the SCOBY, as metal can harm it.
- Remove the tea bags or strain the tea to remove loose leaves.
2. Combine Ingredients:
- In your gallon-sized glass jar, combine the cooled sweet tea with the rest of the water to bring the mixture to room temperature if it isn’t already.
- Add the 2-3 cups of starter tea. This acidic environment ensures a safe fermentation by preventing harmful bacteria from taking hold.
- Gently add your SCOBY to the jar.
3. First Fermentation:
- Cover the jar with your breathable cloth and secure it with a rubber band. This setup allows the kombucha to breathe without letting in any unwanted pests or contaminants.
- Store the jar in a warm, dark place (around 68-85°F) for 7 to 10 days. Avoid placing it in direct sunlight. The exact time will depend on your taste preferences; a longer fermentation results in a less sweet and more vinegary flavor.
4. Taste Test:
- After about 7 days, start tasting your kombucha daily. Once it reaches your desired balance of sweetness and tartness, it’s ready for the next step. Be sure to use a clean spoon each time to avoid contamination.
5. Second Fermentation (Optional but Recommended for Fizz):
- Once your kombucha has fermented to your liking, remove the SCOBY and about 2 cups of kombucha to use as starter tea for your next batch.
- Pour the kombucha into bottles, leaving some space at the top. This is the time to add any flavorings like fruit, herbs, or juice if you wish.
- Seal the bottles and let them ferment for another 3-7 days at room temperature to develop carbonation. Be careful; pressure can build up, so it’s wise to burp the bottles occasionally to release excess pressure.
6. Refrigerate and Enjoy:
- Once the second fermentation is done, refrigerate your kombucha to slow fermentation and enjoy it cold. Refrigeration also helps to stop the fermentation process, preventing the bottles from becoming too fizzy or potentially exploding.
TIPS
- Cleanliness is crucial to prevent mold and unwanted bacteria. Ensure all equipment is clean and hands are washed before handling the SCOBY or the kombucha.
- Experiment with different teas and flavorings. Black tea is traditional, but green, white, and oolong teas also work well. Just avoid teas with oils, like some flavored teas, as they can harm the SCOBY.
Continuous Kombucha Brewing
Continuous Brew Method Maintenance:
- SCOBY Hotel: Over time, your SCOBY will grow thicker. Periodically, you’ll need to remove some of the older layers and either start a new brew, share with friends, or compost them.
- Cleaning: Every few months, it’s a good idea to give your container a thorough cleaning. Carefully remove the SCOBY and place it in a temporary container with some of the kombucha. Clean the brewing vessel with hot water (avoiding soap or harsh chemicals that can leave residues harmful to your SCOBY) and then return the SCOBY and liquid to the vessel.
Advantages of Continuous Brew:
- Less Maintenance: Once set up, it requires less day-to-day maintenance than individual batches.
- Constant Supply: You can draw off kombucha as needed, ensuring a constant supply.
- Flavor Experimentation: It’s easy to experiment with different teas and flavors during the second fermentation.
- Health Benefits: Continuous brew systems can develop a wider range of beneficial acids due to the constant fermentation process.
I’m a huge fan of this method; it saves time, keeps us always in delicious kombucha and is so darn easy to do. This is the vessel I use and it’s been holding up for a few years now. I did replace the plastic spigot with a stainless steel one, which I would recommend.
Have fun making kombucha and if you have any questions or would like to share any additional tips you have drop those in the comments below.
Happy Brewing!
Chelsea


