

Table of Contents
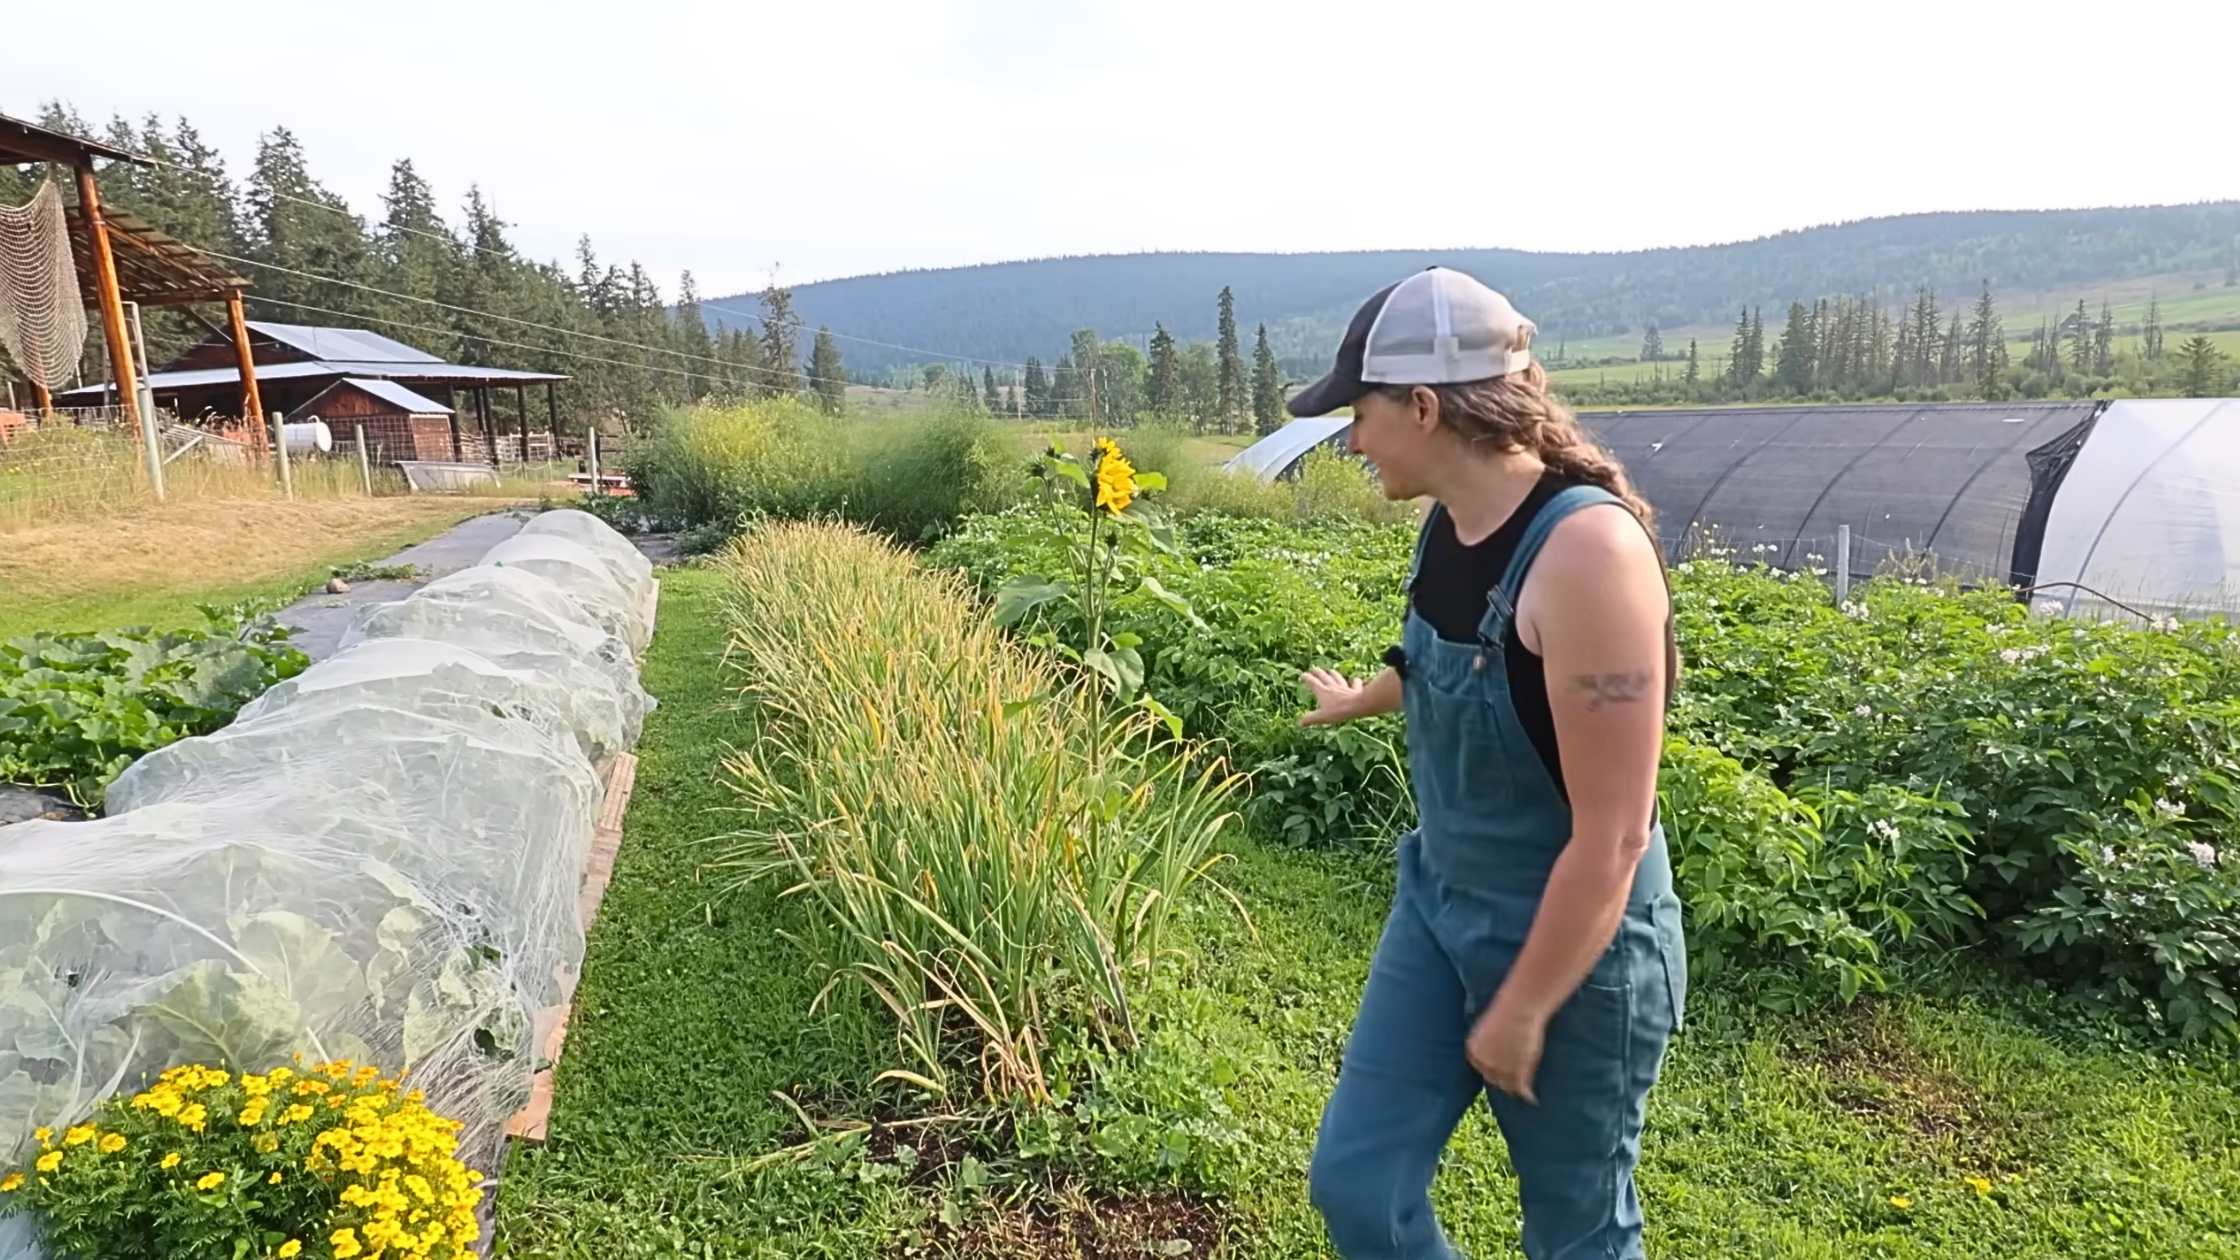
I planted 600 cloves of garlic last October and pulled them out of the ground this week. I am not going to pretend that was not emotional, because this particular harvest carries more weight than usual. This garlic is not just for our kitchen. It is the seed stock for next year’s crop at our new farm, the first tangible step toward the farm store I have been working toward for years.
But even setting aside the sentimentality of it, garlic is one of those harvests that teaches you something every single year. This year’s lesson was about timing, and what happens when the weather forces your hand.
Here is everything I know about harvesting garlic in a short-season northern garden.
WHEN TO PULL YOUR GARLIC
The general rule is to harvest garlic when the bottom three or four leaves have completely died back. Each leaf on the plant above ground corresponds to a wrapper layer around the bulb below, so you want to leave the plant long enough that the bulb is well-covered and fully developed, but not so long that it starts to split.
In a northern garden, you are often making this call under time pressure. This year, with five days of rain in the forecast, I decided to pull a little earlier than I would have liked. The risk of rain on a nearly-mature garlic crop is that the bulbs can begin to split. A split bulb is still perfectly fine for eating, but for saving seed garlic you want it as intact and robust as possible.
Tip: If your garlic is close to ready and you have significant rain forecast, it is better to pull a little early than to risk splitting. Watch for any bulbs already beginning to split when you harvest; those are the ones to set aside for your kitchen first.
HARD NECK VS. SOFT NECK GARLIC: WHAT IS THE DIFFERENCE?
This is one of the most common questions I get, so here is a clear breakdown.
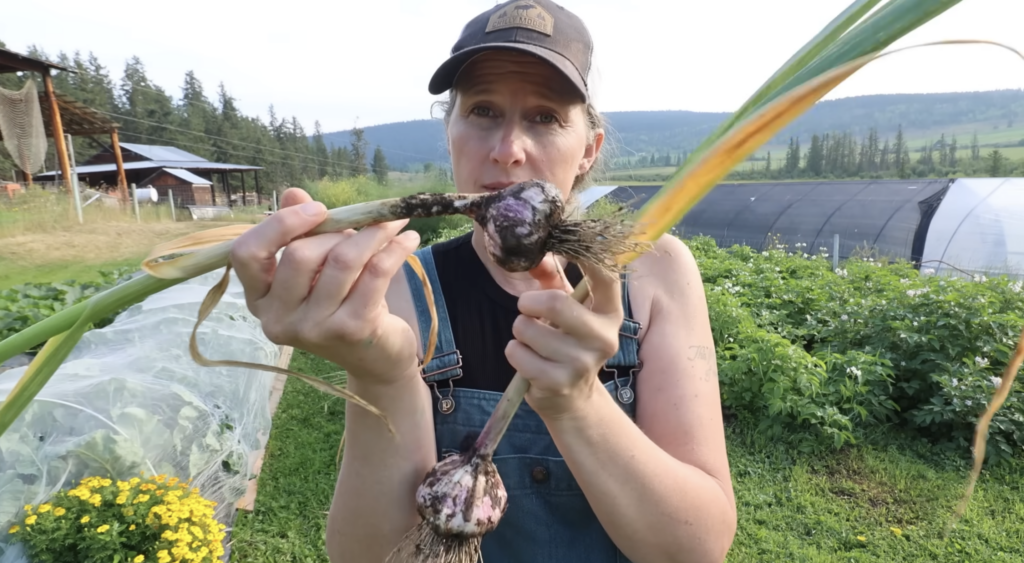
Hard neck garlic grows a scape, the curling green stalk that emerges from the centre of the plant in early summer. Pull the scape off so the plant puts energy into the bulb rather than into producing seed. Hard neck garlic typically has fewer, larger cloves arranged around a central hard stem. It tends to have a more complex flavour, and it does not store quite as long as soft neck, though in my experience it lasts comfortably all the way through winter and into early spring in a cold room.
Soft neck garlic does not produce a scape. It has more cloves per bulb, layered in an irregular, overlapping pattern (artichoke garlic is a common type), and the neck is soft and flexible at harvest, which makes it easy to braid. Soft neck stores longer than hard neck and the bulbs tend to grow a little larger in my garden.
The standard recommendation for northern growers is to plant hard neck garlic because it handles cold better. In my Zone 3B garden with around 110 frost-free days, I have grown both successfully for years. My honest experience is that either can work well if you are planting them in the fall before the ground freezes, which is the most important factor regardless of variety.
SORTING YOUR GARLIC FOR SEED VS. EATING
After pulling, lay your garlic out somewhere shaded and airy to let the surface moisture dry off. This makes the bulbs much easier to clean and handle and prevents any mould from developing.
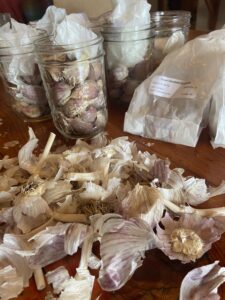
When sorting, look for the largest, most well-formed bulbs with no splitting, no soft spots, and tight, intact wrappers. Those go into your seed pile. Smaller bulbs, irregular ones, or any that are starting to split go into the kitchen pile for eating soon or for preserving.
Tip: If garlic starts to turn before you can use it, chop it finely and freeze it, or slice it and dehydrate it. Both methods work beautifully and nothing goes to waste.
REMOVING SCAPES: DO NOT SKIP THIS

If you grow hard neck garlic, you will see the scape emerge in early summer. Remove it as soon as it starts to curl. The plant will redirect energy from seed production back into bulking up the bulb below. If you miss a few, the garlic will still grow, but those bulbs may be slightly smaller.
As a bonus, garlic scapes are delicious. Chop them and use them anywhere you would use mild garlic: stir fries, pasta, pesto, scrambled eggs. They are one of my favourite early summer ingredients.
CURING YOUR GARLIC
Freshly harvested garlic needs to cure before it will store well. Hang it or lay it out in a shaded, well-ventilated space. My small greenhouse works perfectly because it has good airflow through the vents and the UV-filtering plastic protects the bulbs from direct sun, which can damage the wrappers.
Curing takes approximately two weeks. You will know it is finished when the neck is completely dry and papery, the wrappers have tightened up, and the roots are fully dried and stiff. Do not rush this step; properly cured garlic will store through the winter.
BUYING SEED GARLIC
Even if you are saving your own seed garlic, it is worth ordering a few new varieties every year or two to add diversity and maintain vigour. For Canadian gardeners, I have been ordering from Rasa Creek Farm seed garlic in the Boundary Country of BC for years with great results. They have excellent quality and a good selection of varieties suited to northern climates.
PRINTABLE CHECKLIST: GARLIC HARVEST AND SEED SELECTION
- Harvest when 3 to 4 leaves have died back, or earlier if significant rain is forecast
- Pull gently from moist (not waterlogged) soil
- Lay out in a shaded, airy spot to let surface moisture dry
- Sort: largest, most intact bulbs for seed; smaller or split ones for the kitchen or preserving
- Cure in a shaded, well-ventilated space for approximately two weeks
- Store cured seed garlic in a cool, dry location until fall planting
- Plant seed garlic in the fall before the ground freezes
- Remove scapes from hard neck varieties as soon as they begin to curl
This garlic harvest marked the first real step toward something I have been building toward for a long time. If you are on the garlic journey with me, or growing your own seed garlic for the first time, I would love to hear how it is going. Come join us in the Little Mountain Ranch Community.