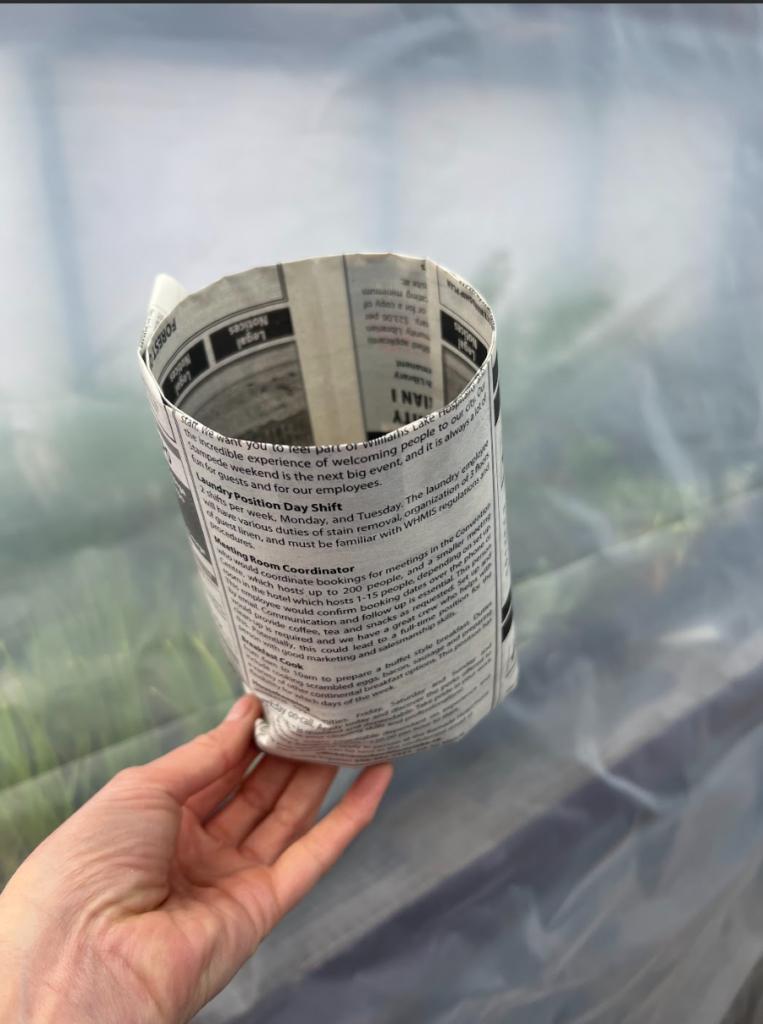
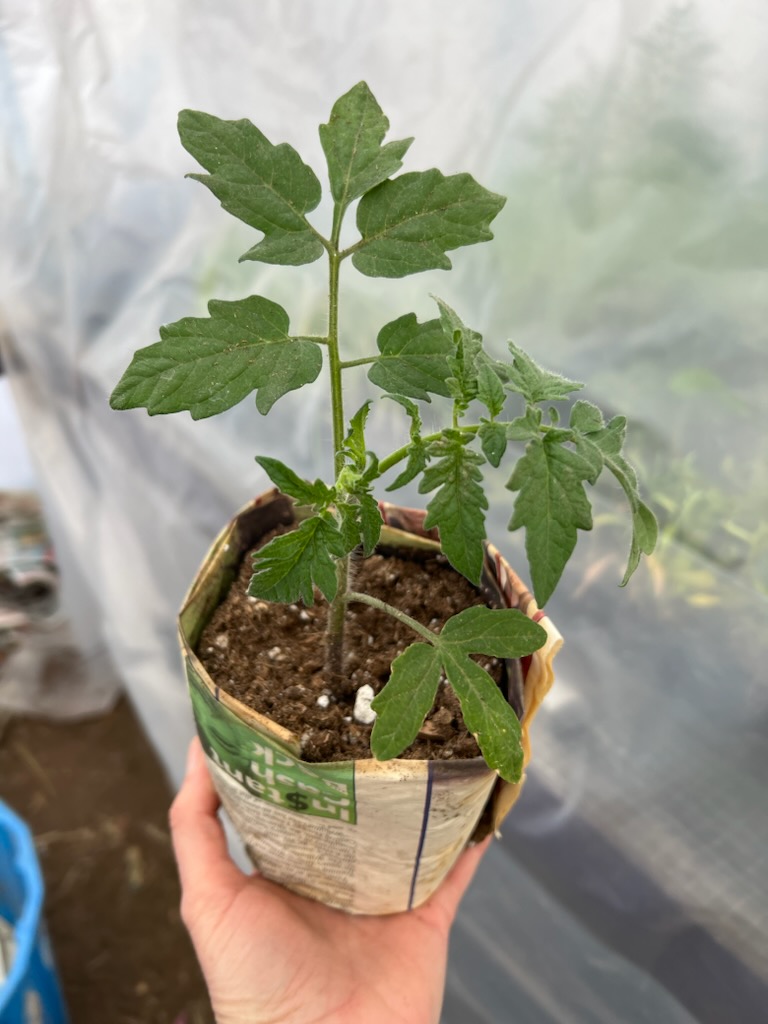
Did you know you can make pots to plant up your seedlings at little to no cost? Yes, you read that right! All you need is some old newspaper and a cylindrical glass jar. You may be wondering how to make newspaper plant pots and why on earth anyone would make them instead of buying the premade peat pots or plastic containers for seed starting.
I have been using paper pots for years and find them to be easy; plants do well in them, and they are very inexpensive. These particular pots are cylindrical, come together really quickly and are fun for little hands to make too. They take just a couple of minutes to make and fill with dirt. Before you know it, you will be having fun with your kids, and all your young plants will have their own pots. The best part is that you do not need any special paper pot maker. You can use toilet paper rolls or any size mason jar to shape your newspaper seedling pots.
When choosing the paper to make your own newspaper pots, I would recommend using that stack of old newspapers you have sitting in your basement, or going to your local newspaper and requesting outdated newspapers. Our local paper sells them for 2.00 for a large box. The size of the cylindrical objects you use to make the pots will depend on what size pot you need. For instance, tomatoes will need a larger pot than your basil, as the basil grows slower.
Making your own plant pots gives you the advantage of being able to place the entire pot into your garden beds when the time comes. Newspapers are biodegradable and will break down over time. This means that the bottom of your pot will weaken and break apart, allowing the root system of the plant to grow through the bottom of the pot. With these newspaper seed pots you will not have to worry about washing or replacing your plastic plant pots for reuse the following year. So, it is a win-win for you, no residual garbage to throw away after transplanting and no pots to wash!
Making a Paper Pot
Materials Needed
- Newspaper (preferably printed with plant-based ink)
- Mason jar (or any cylindrical object)
- Scissors
Step-by-Step Guide for How to Make Newspaper Plant Pots
Step 1: Prepare Your Newspaper
Choose a newspaper that uses plant-based dyes for printing, which most are these days. This is important as it ensures that the ink is non-toxic to plants. Many newspapers have switched to soy-based inks, which are better for the environment and safe for your garden. You can often purchase outdated newspapers in bulk from local publishers at a reduced price, which is cost-effective and eco-friendly.
Step 2: Cut the Newspaper
If your newspaper is large you can cut the newspaper into strips of newspaper with a pair of scissors. Each strip of paper should be about twice the height of your mason jar and wide enough to wrap around the jar with some overlap. A typical size of the strips of paper could be about 10 inches by 5 inches, but you can adjust based on the size of the jar. I use a quart mason jar.
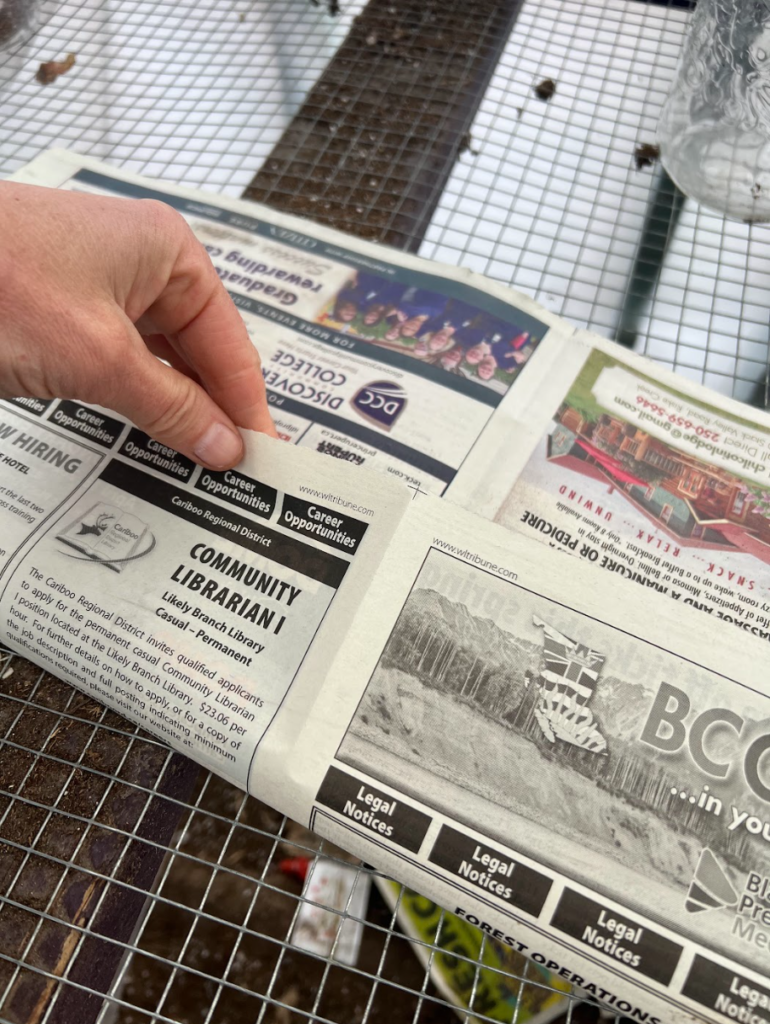
Step 3: Wrap the Newspaper Around the Mason Jar
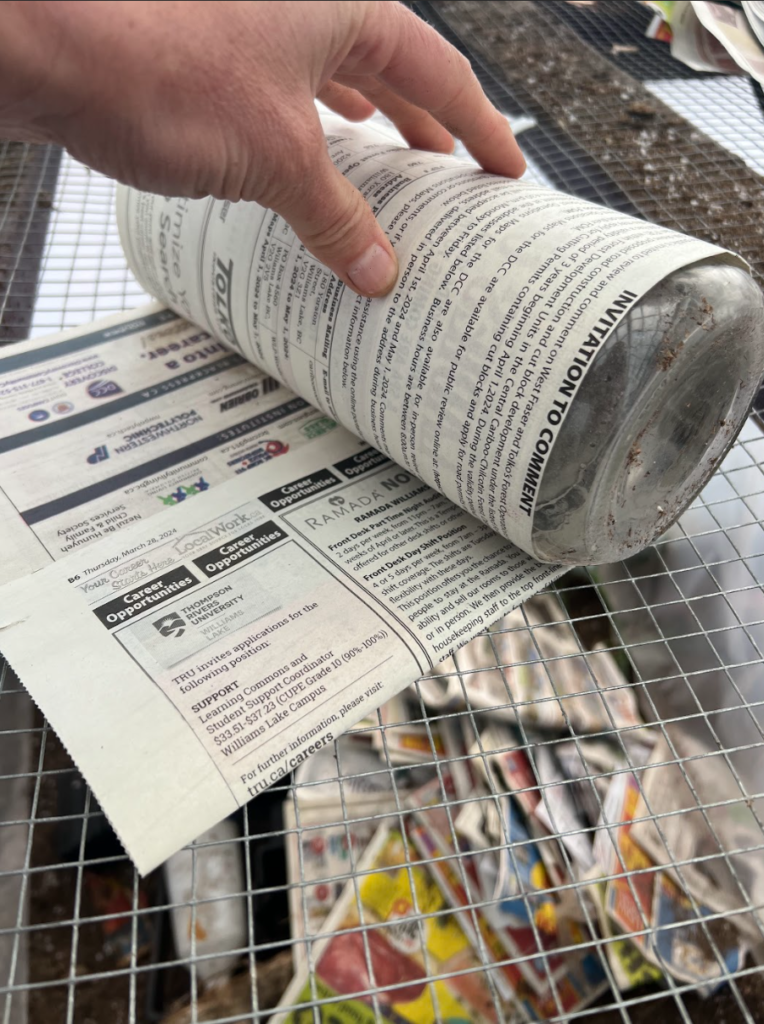
The next step is to place the mason jar at one end of the newspaper strip. Carefully wrap the newspaper around the jar, ensuring it’s tight enough to hold its pot shape but not so tight that you can’t slide the jar out later. Leave about a third of the height of the newspaper extending beyond the bottom of the jar.
Step 4: Fold the Bottom
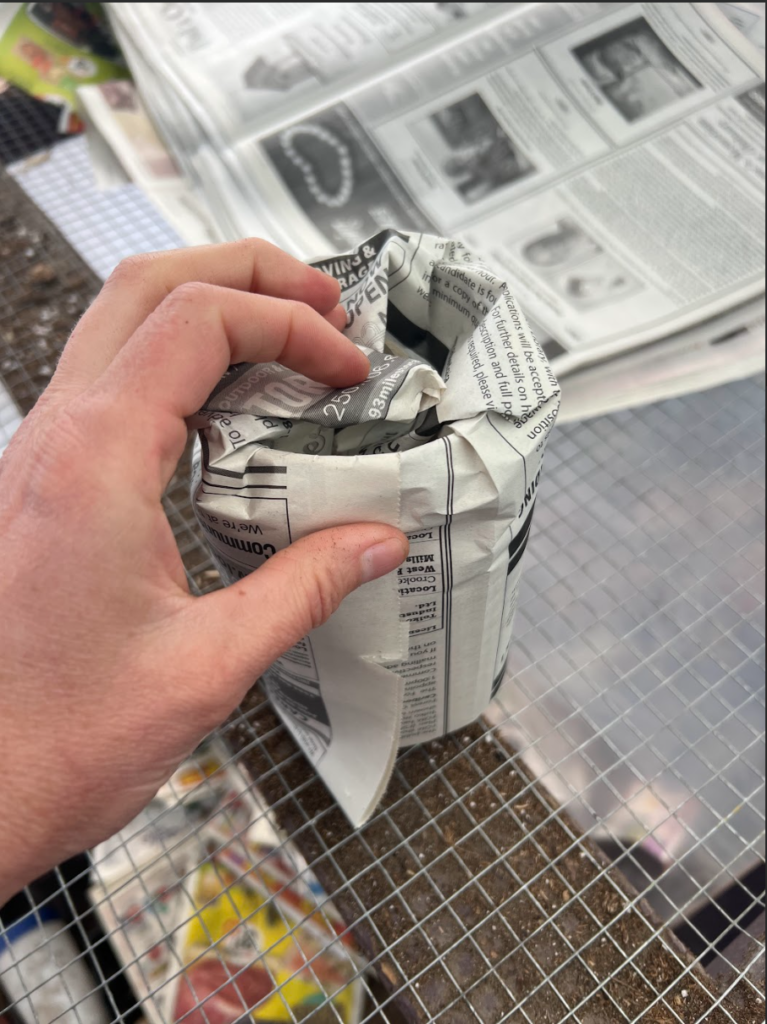
Fold the excess newspaper at the bottom of the glass inward to create the base of the pot. I like to start folding where the papers overlap the most. This helps the pot hold it’s shape. Press the folds flat against the bottom of the can to ensure they hold together and create a solid base.
Step 5: Slide the Jar Out
Gently slide the mason jar out of the formed pot. You can adjust the folds at the bottom if necessary to make the pot sit flat.
Step 6: Fill with Soil and Plant
Your paper pot is now ready! The last step is to fill it with soil and proceed to plant your seeds. Once the seedlings are ready to be transplanted, you can plant them directly in the garden in their paper pots. The newspaper will decompose naturally in the soil. I usually take mine off, which is easy to do and throw the newspaper into the compost.
I do recommend placing your filled pots in a waterproof tray to avoid leaking of soil and water. This also makes it easier to move your pots around. Once the pots have been moistened they can be fragile so if you are going to move them, having them in a tray, or waiting until they have dried out a little is recommended.
