


Table of Contents
Managing a large household or resilient homestead pantry requires practical systems. Using old-fashioned skills to turn backyard materials into useful products builds true capability. Our properties often contain historical, multi-purpose plants. These pull deep soil nutrients up to the surface. This offers excellent utility in both the garden and the home workshop. Learning to harvest these botanicals and balance extraction timelines is important. Blending them into durable everyday staples ensures nothing goes to waste. One of these powerhouse botanicals that we have on the ranch is comfrey.
In this guide, we will break down the step-by-step method for infusing carrier oils. We will also calculate reliable wax-to-oil ratios to craft a shelf-stable comfrey salve right on your kitchen counter.
You can watch the full process of how I harvest the foliage and mix this batch in the video below.
Harvesting Comfrey in the Orchard
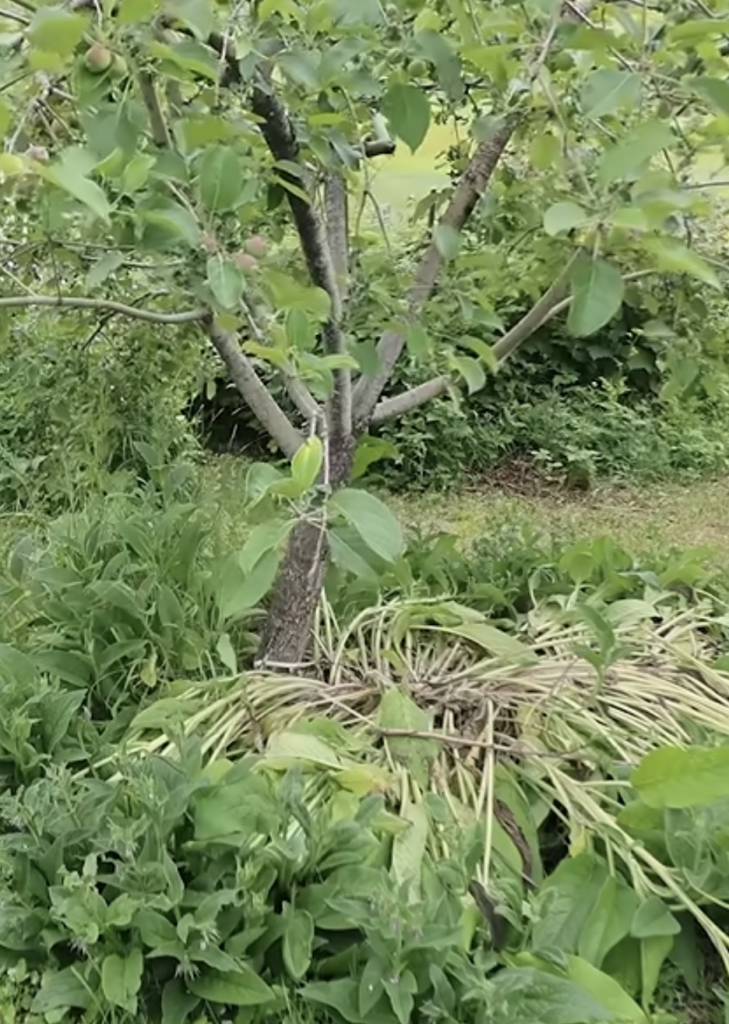
Maintaining a thick ring of comfrey around your fruit trees suppresses invasive grasses. These grasses would otherwise compete directly for moisture. Comfrey features a deep, robust taproot. This root pulls up essential nutrients from far below the orchard trees. The foliage naturally dies back later in the cycle. Those large, nutrient-dense leaves then decompose on the surface to return minerals directly to the topsoil.
You may manage your plants for both resource building and harvest. When doing so, compress the core stalks rather than cutting them completely to the ground. Stomping the inner stalks flat allows the young blossoms to curve upward. This preserves an essential forage source for native bumblebees.
For topical kitchen projects, focus entirely on gathering young, clean, tender leaves. The skin on comfrey foliage is covered in fine, stiff hairs that can cause mild skin irritation. If you are prone to skin sensitivity, always wear thick canvas gloves and long sleeves.
Two Methods for Infusing Botanical Oils
Extracting active properties into a stable carrier medium like olive oil requires proper temperature management. Excessively high temperatures will degrade the quality of your botanical materials.
Depending on your production timeline, you can utilize either a slow cold extraction or an accelerated warm method:
The Accelerated Dehydrator Method
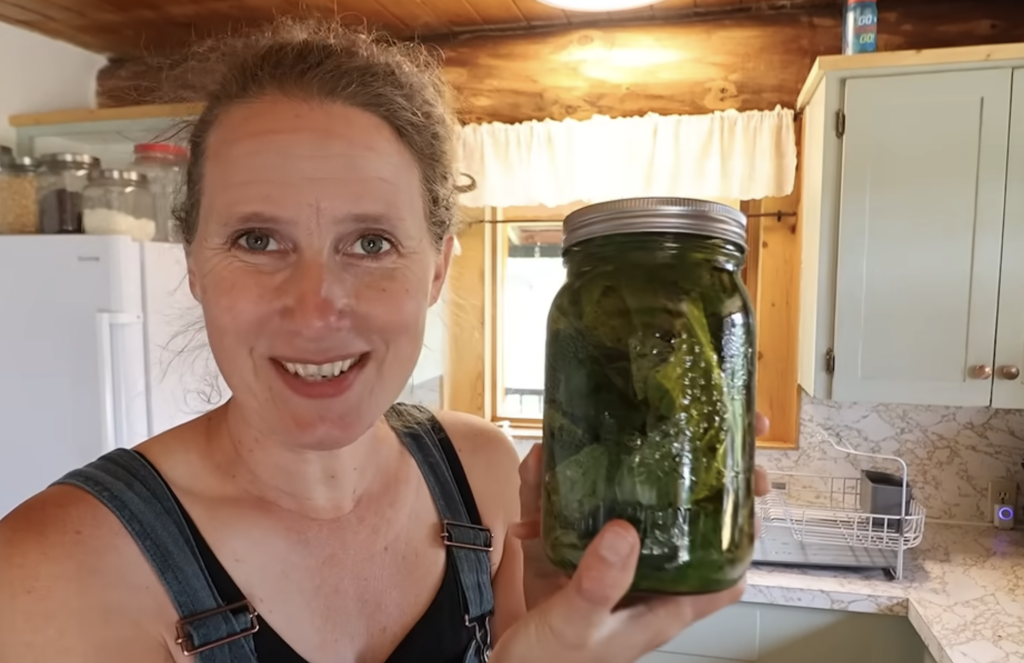
This approach allows you to process fresh botanical material into a finished product within a few days. Pack clean, fresh comfrey leaves into a clean glass quart jar. Cover them completely with a high-quality olive oil. Place the uncovered jar directly into an electric countertop dehydrator. Hold the temperature strictly between 110°C and 115°C for 48 hours to complete a warm oil infusion.
The Traditional Cold Method
Your timeline might allow for a slow cure. If so, dehydrating or freeze-drying the raw leaves first prevents moisture from entering your oil. Pack the fully dried comfrey material into a clean glass jar. Submerge it completely under your carrier oil and secure a tight lid. Store the jar in a cool, dark cupboard to steep undisturbed for a full six weeks before straining.
Step-by-Step Comfrey Salve Formulation
Once your infused carrier oil is ready, blending it with natural beeswax creates a stable, scoopable product that stores exceptionally well on room-temperature pantry shelves.
Required Tools & Materials
Infused comfrey olive oil
Natural raw beeswax block or wax pellets
Fine kitchen grater
Double boiler setup or heat-safe bowl over a pot of simmering water
Clean glass storage jars with bands and recycled metal canning lids
Formulation Ratios
The exact stiffness of your final product depends on your wax-to-oil measurements. For a pliable, easily spreadable texture that holds its structure without turning liquid, use the following tested ratio:
Preparation Instructions
Grate the Wax Finely: Finely grate your raw beeswax block using the smallest teeth on your grater. The more finely the wax is processed, the faster it will melt. This prevents you from over-heating and damaging the delicate properties of your infused oil. Pack the grated wax firmly into your measuring spoon to ensure an accurate weight.
Combine and Melt: Place your comfrey oil and grated beeswax into a double boiler over low heat. Stir steadily until the wax liquefies completely into the oil, then remove the mixture from the heat.
Incorporate Scent Profiles: You might want to add essential oil blends for targeted muscle support. Stir them into the warm liquid just before pouring. Adding them at the very end prevents the aromatic compounds from evaporating into the steam.
Jar and Cool: Pour the liquid directly into small, clean glass jars. Let the open jars rest undisturbed on the kitchen counter at room temperature. Wait until the mixture cools, turns opaque, and solidifies.
Tip: Making topical salve products is an exceptional way to recycle used metal canning lids. Unsealed lids can never be reused for water bath or pressure canning because the compound gaskets are compromised. However, they are perfectly functional for sealing dry goods or household topical tins. Keep a dedicated drawer in your kitchen to save these valuable storage resources.
Printable Preservation Checklist
Collect clean, young comfrey leaves from around orchard bases using gloves.
Select your infusion method: hold fresh leaves in oil at 110°C for 48 hours, or steep dry material for 6 weeks.
Grate raw beeswax finely to ensure rapid melting at low temperatures.
Melt 2 tablespoons of packed wax for every 3/4 cup of infused oil using a low-heat double boiler.
Stir in custom essential oils right before pouring to prevent scent evaporation.
Package the liquid into small glass jars and seal them using recycled canning lids.
If this approach to practical self-sufficiency and old-fashioned skills resonates with you, consider joining us inside the Little Mountain Ranch Community. This space takes these projects a step deeper with structured teaching calls. You gain full access to our PDF resource library. We also host bi-weekly open Q&A sessions to solve property and garden challenges in real-time.
Click here to learn more and join the Little Mountain Ranch Community.