

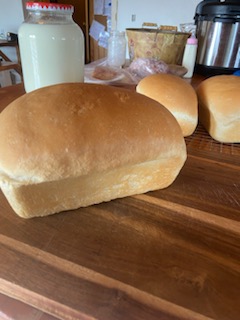
Easy Soft Sandwich Bread Recipe
Does a soft and fluffy slice of bread with melted butter sound delicious? If so, I have the perfect simple 6 ingredient bread recipe for you. Whether you prefer white or whole wheat bread, this recipe can be tailored to your preference. Bread baking doesn't have to be intimidating. This is a beginner friendly and super simple recipe.
Ingredients
- 1 quart warm water (4 cups)
- 1 Tbsp yeast
- 2 tsp salt
- 1/4 cup honey
- 1/4 cup olive oil
- 6-8 cups flour 1.5 sprouted whole wheat, the rest all-purpose
Instructions
- Activate Yeast: In a large mixing bowl, combine warm water and yeast. Let it sit for about 5 minutes until the yeast is activated and frothy.
- Combine Ingredients: Stir in salt, honey, and olive oil until well combined.
- Form Dough: Gradually add the flour, mixing well after each addition, until a dough forms. Add more if necessary.
- Knead Dough: Knead the dough on a floured surface for about 8-10 minutes, until it becomes smooth and elastic or for 4-5 minutes in a mixer with a dough attachment.
- First Rise: Place the dough in a greased bowl, cover it with a clean kitchen towel, and let it rise in a warm place for about 1-2 hours, or until doubled in size. If using 100% whole wheat flour, punch it down and let it rise again.
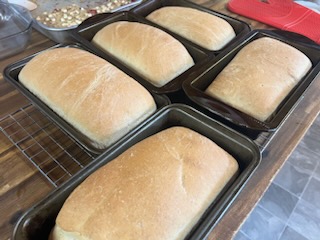
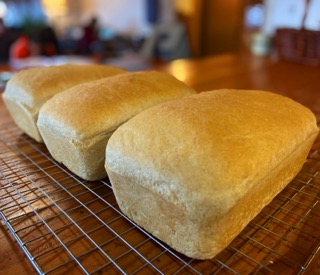
- Shape Loaves: Punch down the dough to release the air bubbles, then divide it into three equal-sized loaves. Shape each portion into a loaf and place them in greased loaf pans.
- Second Rise: Cover the pans with a kitchen towel and let the dough rise for another 30-45 minutes.
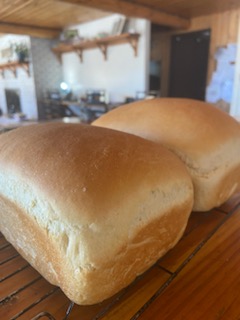
- Bake: Preheat the oven to 350°F. Bake the loaves in the preheated oven for 25-30 minutes, or until they are golden brown and sound hollow when tapped.
- Cool and Enjoy: Remove the loaves from the oven and let them cool on a wire rack before slicing. If you can't restrain yourself, be careful not to burn your fingers! One guess as to the kind pf person I am! 😉
Nutrition
Calories: 1159kcalCarbohydrates: 215gProtein: 26gFat: 21gSaturated Fat: 3gPolyunsaturated Fat: 3gMonounsaturated Fat: 13gSodium: 1557mgPotassium: 295mgFiber: 7gSugar: 24gVitamin C: 0.1mgCalcium: 41mgIron: 12mg
Tried this recipe?Let us know how it was!

5 thoughts on “Easy Soft Sandwich Bread Recipe”
Can instant yeast be used in this recipe?
Hi Lenora,
You can substitute Instant yeast for the active yeast and get the same results. I can not wait to see how your loaves turn out!
I know I asked this question before but I must have missed the answer somewhere. What is sprouted flour. I’ve never heard of this. Thank you for you patience
Connie .
cro_lpn@yahoo.com
Hi Connie,
Sprouted flour is a type of flour where the grain starts to sprout, is dried and then ground into flour. You can buy it as Azure Standard.